Previously we gave a tutorial on How to Create a Token Lock (Time Locking) for the CRC20 Coinex Smart Chain, and how to verify in the explorer coinex smart chain, in this article we will provide a tutorial on how to set or use TokenLock crc20 coinex smart chain. Before carrying out the token locking process, there are several things you need to prepare you must prepare :
# Token lockout period: this timeframe uses the seconds format, if you want to lock the token for 1 year, then you must convert it to seconds, for example 1 year = 31104000 seconds. When the token is locked for 1 year, the owner or recipient cannot withdraw the token before the period (lock period) expires. After the lock period has expired, the recipient can retrieve the token from the token lock smart contract.
# List of token recipients: you must create a list of token recipients and their amount. It is this list that will receive tokens after the token lock period expires. For example, Investor A gets 1000 tokens, Investor B gets 2000 tokens, and so on. You need to enter the list into the smart contract, by interacting in the TokenLock smart contract. You can enter one by one, you enter the mass method “bulk deposit” using a script.
How to Setting & Using Token Lock ERC20 Coinex Smart Chainn
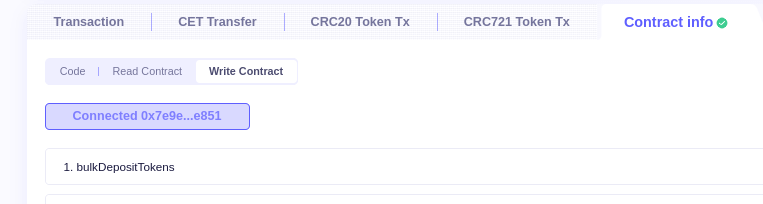
1. Login / Connect Smart Contract TokenLock
You can use the coinex smart chain explorer or remix-ethereum, in this article we use the CSC explorer. Connect your wallet with the smart contract in explorer.

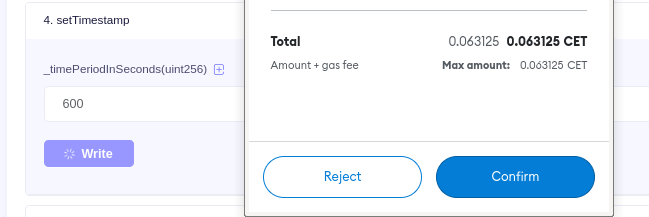
2. Setting the token lock period
To set the token lock period, you need to interact with the contract in “setTimestamp” or “_timePeriodInSeconds“. Enter the time (in seconds) into the field. Example *key token within 10 minutes = 600 seconds, input 600 into _timePeriodInSeconds , click “Write” and confirm on wallet metamask, wait a few moments until the transaction is complete.
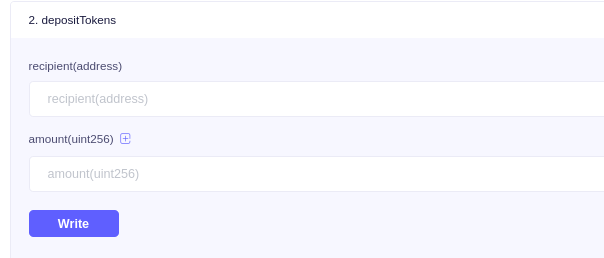
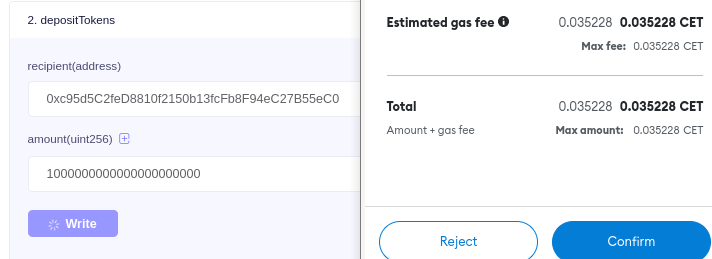
3. Enter CRC20 Token Recipient List
After you create a list of token recipients, you need to enter the list into the smart contract, in the “depositTokens” section, enter the recipient’s address and the number of tokens. You need to pay attention, because what I use is a token that uses decimal 18, then you need to add 18 numbers 0 to the number of tokens, Example * I want to enter 100 tokens, then what I need to input is 100000000000000000000 . After that click “Write” and confirm in the wallet.
4. Send CRC20 Token to Smart Contract TokenLock
After the token recipient address upload process is complete, the next step is to send crc20 tokens to the tokenlock smart contract address, the number of tokens sent must match the total number of recipients, *for example, from 10 addresses = total allocation is 15,000 tokens, then you need to send 15,000 tokens to the smart contract address, no less and no more.
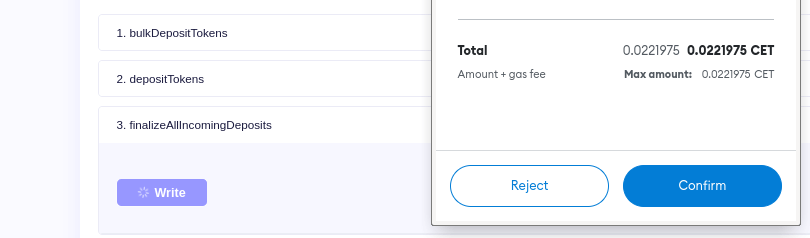
5. Start Token Lock
To start token locking in smart contract, you need to interact in “finalizeAllIncomingDeposits“, when the function becomes “true” then token locking has started. Click the “Write” button in finalizeAllIncomingDeposits, and confirm in your wallet. After this interact is completed or validated, the token locking time has started
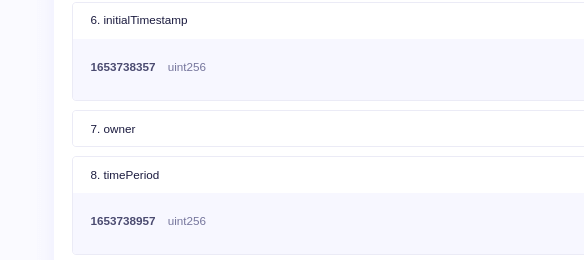
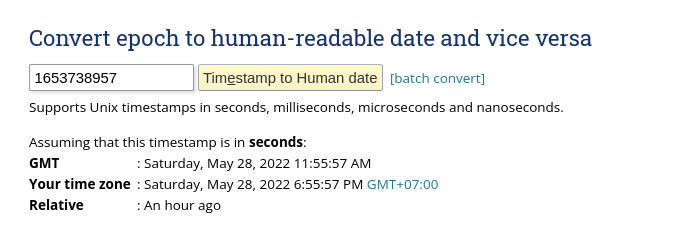
After the locking process starts, you can check the information in the “initialTimestamp” (this function displays , when the locking time starts) . While the “timePeriod” is the information lock token expires. you need to convert the information listed using the epochconverter.com site.
How to Withdraw CRC20 Token in Smart Contract?
After the token locking period has expired, the recipient address that you previously uploaded can retrieve the token in the smart contract. The recipient’s address can take 100% at once or take some (eg 20%). To retrieve tokens in the tokenlock smart contract, you must interact with the smart contract
# Login / Connect Smart Contract : please connect your wallet in explorer coinex smart chain
# Clik “Write Contract”
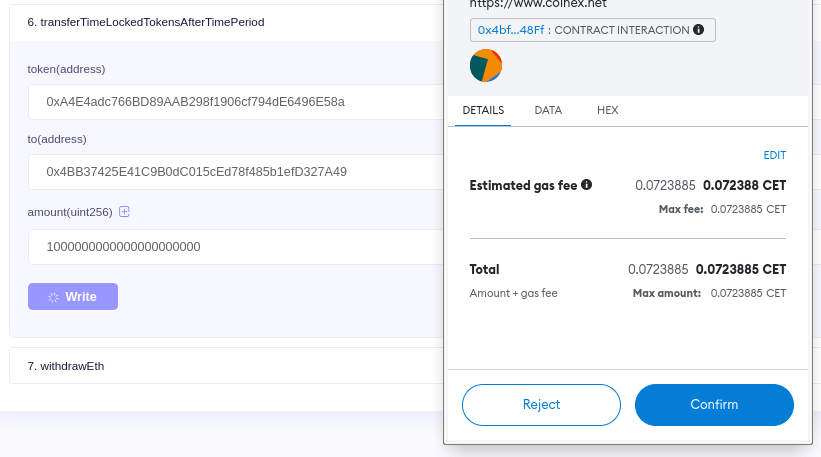
# Withdraw tokens using “transferTimeLockedTokensAfterTimePeriod” : this function is used to retrieve tokens in the smart contract, there are 3 columns in the function, you need to enter the crc20 smart contract, your wallet address, and the number of tokens you will take. Then click “write” and wait 3-5 seconds, then you will get a crc20 token which was previously locked in the tokenlock smart contract.
Conclusion
The TokenLock function is needed by token developers, this function can be used to lock Dev/Team tokens or whatever and liquidity tokens. If you use the Token Lock Protocol service, you need to pay a fee of $300-$500, but if you use this simple Tokelock, you only need to pay a gas fee, no more than 5 CET (About $0.2) . If you are proficient in the field of front end creation, you can combine the smart contract with your front end application. good luck