Airdrop is a campaign activity created by a developer (project crypto), which aims to attract or increase users within their ecosystem. Usually airdrops are free, users will get tokens or nft just by joining groups, subscribing, following social media or some other activity.
Airdrops have become very popular because this activity is really profitable, users get digital assets (crypto) that can be exchanged for fiat money, and from the developer side they get a short increase in users in their ecosystem. Airdrop is also a reliable token developer to develop their projects, and so they get more support from new users.
In this article we will provide a tutorial on how to distribute crc20 tokens (airdrop) to users en masse or automatically, this is very useful if you are running an airdrop campaign, because you don’t need to spend a lot of money or fees to pay for airdrop services or pay for services. This way you only need no more than $1 for distribution or sending tokens to more than 2000 wallets.
What Needs to Be Prepared ?
1# Wallet
Because coinex smart chain is a blockchain that supports evm, you need to create an evm wallet like metamask, via wallet or trustwallet to be able to use the coinex smart chain blockchain, if you use a metamask wallet and trust wallet, you need rpc settings so you can use the CSC mainnet network and testnet.
RPC URL : https://rpc.coinex.net
Network Name : Coinex Smart Chain Mainnet
ChainID : 52
Symbol : CET
Block Explorer : https://www.coinex.net
RPC URL : https://testnet-rpc.coinex.net/
Network Name : Coinex Smart Chain Testnet
ChainID : 53
Symbol : tCET
Block Explorer : https://testnet.coinex.net/
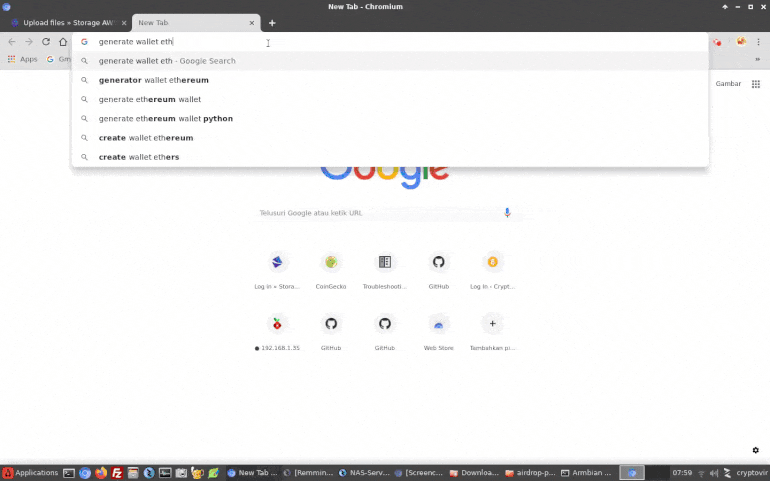
In this video I use the wallet generator https://vanity-eth.tk to create a wallet, save the wallet address & private key wallet, later we will enter the wallet into a python file, as a crc20 token sender.
2# Coin CET / tCET (testnet)
To get CET coins, you have to buy them on an exchange, for example: you can use Coinex Exchange to buy some coins native coinex smart chain “CET”. For now, one coin cet costs $ 0.046x, 1 coin cet can be used to send 80x tokens, this fee is very cheap, different from other blockchains. Meanwhile, to get the CET testnet coin (tCET), you can get it at the faucet provided by the Coinex CSC developer.
Link faucet tCet : https://testnet.coinex.net/faucet
3# CRC20 Token “coinex”
Make sure you have prepared a crc20 token that will be sent (airdrop) to the recipient’s address, the token must be in the sender’s wallet that we will use to send it. If you don’t have a token yet, you can create one with the openzepplin library – via the ethereumIDE remix.
You can use openzepplin to create crc20 coinex smart chain tokens.
// SPDX-License-Identifier: MIT
pragma solidity ^0.8.9;

import "@openzeppelin/contracts/token/ERC20/ERC20.sol";
import "@openzeppelin/contracts/token/ERC20/extensions/ERC20Burnable.sol";

contract MyTokenCoinex is ERC20, ERC20Burnable {
    constructor() ERC20("My Token Coinex", "MTC") {
        _mint(msg.sender, 21000000000 * 10 ** decimals());
    }
}
After the token creation process is complete, don’t forget to verify the smart contract in the coinex smart chain explorer, if you are still confused, you can check & search for tutorials on our site.
4# Python Multisender
This is a python file that functions to send coinex crc20 tokens in bulk, you need to edit a few lines in the file.
The line you need to set :
file = airdrop_crc20-coinex.py

# Set rpc blockchain - you can use mainnet or testnet
coinex = "https://testnet-rpc.coinex.net"

# Set account wallet
main_address = '0x9a896E26A571B9761dF09d4eCc18898AC1b7Bb51'

# Set smart contract crc20 coinex smart chain
contract_address = web3.toChecksumAddress('0xEA0Ad74F7520Ec98f5D5C25C47c7908ecdAec1b0')

#The number of crc20 tokens to be sent
send = 1000

#set gas & chain id
token_tx = contract.functions.transfer(web3.toChecksumAddress(i), amount).buildTransaction({
'chainId': 53, 'gas': 300000, 'gasPrice': web3.toWei('505', 'gwei'), 'nonce': nonce
file = config.py

#Nama file address penerima
txt_file = open("address.txt", "r")

#private key wallet
private = 'ccc2b4daac661eb7f2d3ccxxxxxxxxxxxxxxxxxxx77420d60363045244f09dd'
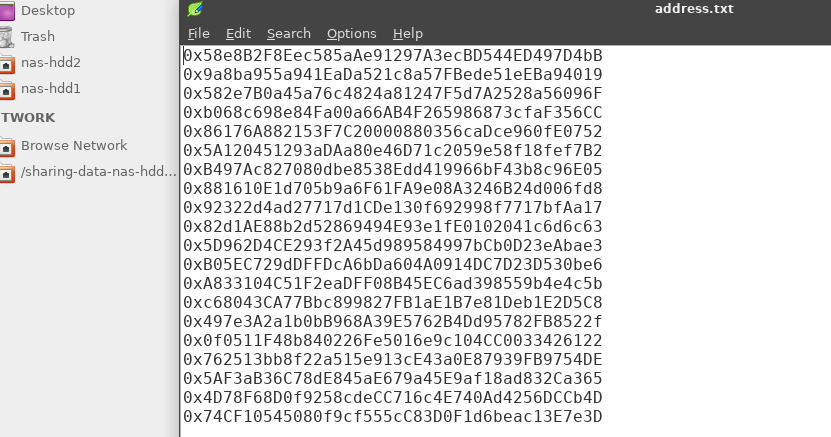
file = address.txt

#isikan daftar (address) penerima token, contoh

0x58e8B2F8Eec585aAe91297A3ecBD544ED497D4bB
0x9a8ba955a941EaDa521c8a57FBede51eEBa94019
0x582e7B0a45a76c4824a81247F5d7A2528a56096F
0xb068c698e84Fa00a66AB4F265986873cfaF356CC
0x86176A882153F7C20000880356caDce960fE0752
0x5A120451293aDAa80e46D71c2059e58f18fef7B2
5# List Address (penerima)
Prepare a list of addresses for recipients of the crc20 token airdrop, save the list in a txt file or notepad, in the format as we informed above. Usually the developer gets the recipient’s wallet address through a gleam/telegrambot/google form campaign or other airdrop application.
Distribution (Airdrop) of Coinex Tokens Using Multisender Python
1# Install Python3
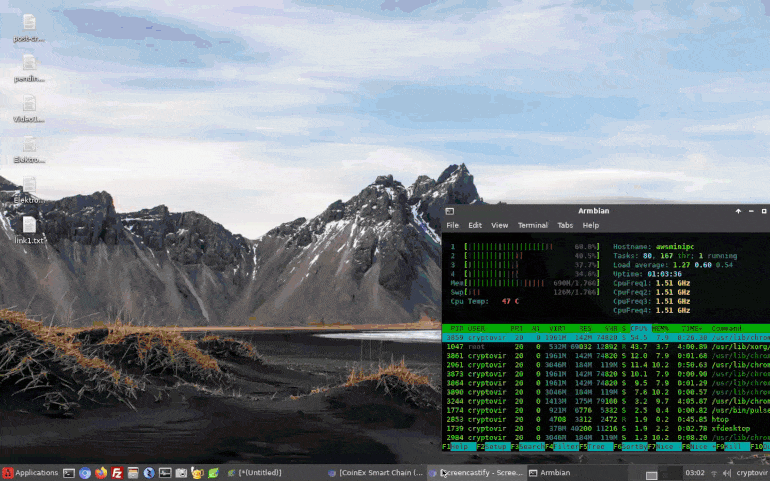
You need to install Python software on a computer or VPS, Python is available for Windows, Linux, Mac OS. but in this article I use the ubuntu bionic server, if you use a different os, the installation process may also be different.
sudo add-apt-repository ppa:deadsnakes/ppa

sudo apt update -y

sudo apt install python3.8 -y

sudo update-alternatives --install /usr/bin/python3 python3 /usr/bin/python3.6 1

sudo update-alternatives --install /usr/bin/python3 python3 /usr/bin/python3.8 2

sudo update-alternatives --config python3

sudo apt install python3-dev -y

sudo apt install libpython3.8-dev -y

sudo apt install python3-devel -y

sudo apt install libevent-dev -y

sudo apt install python3-pip -y
2# Install Virtual Environment Python & Web3
Actually, you can directly install web3 in python, but more frequent error problems occur when installing web3 in phthon3. I suggest you use the python virtual environment for web3 installation, it is very smooth and there are no errors during the installation or token distribution process.
“Web3 Python” is a library that functions for interaction between python and the blockchain network, by using the web3 library, users can easily run python programs that are integrated with the blockchain.
which pip3 || curl https://bootstrap.pypa.io/get-pip.py | python

which virtualenv || pip3 install --upgrade virtualenv

sudo pip3 install virtualenv

virtualenv -p python3 ~/.venv-py3

source ~/.venv-py3/bin/activate

pip3 install web3
3# Token Distribution
The Python script that we share is a multisender with a fixed number of receipts, meaning that each wallet will receive the same number of tokens, for example we set 100 tokens, then all wallets will receive 100 tokens. If you need a multisender feature with a different number of tokens for each wallet, maybe we’ll share it at a later time
- Create the file I informed above (3 files)
- Set wallet, private key, smart contract address, the number of tokens to be sent and the coinex csc rpc setting, as I informed above
- Save the file with the .py extension
- Enter virtual environment python = source ~/.venv-py3/bin/activate
- Enter the folder, example = cd /home/mypc/airdrop/
- Run the command = python3 filename.py
- Example = python3 airdrop_crc20-coinex.py
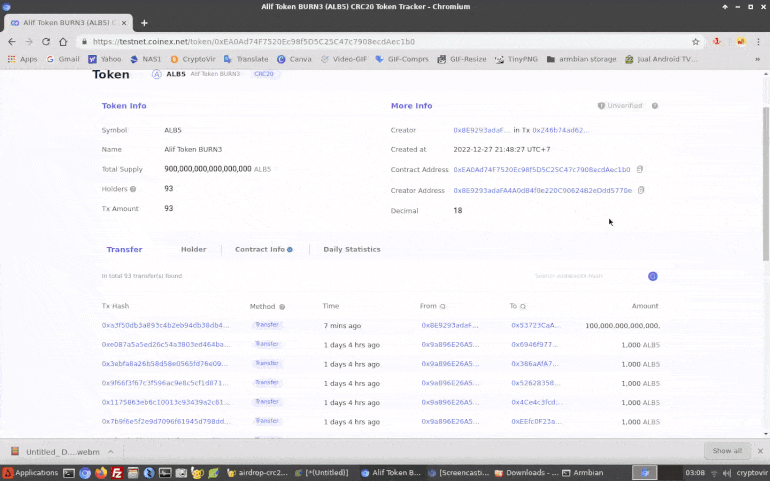
- You will see the process of sending tokens, you can also check in explorer to see details of sending tokens

Conclusion
These tips are really very helpful for developers to distribute tokens to airdrop recipients quickly and easily, no need to use paid multisend services, you will save money and save time. The most interesting thing, coinex is very fast in processing transactions, it only takes 3-5 seconds to validate each transaction, and it is also very cheap, in this article you can see, to send tokens it only takes 0.02x CET (or around $ 0.00125)