Blockchain technology has become a solution to several unresolved problems, the advantages that blockchain has will change habits or replace obsolete technology that we have been using. Blockchain that has “decentralized” properties will be a new breakthrough and a revolution in computing or information distribution. By using blockchain we can create highly secure decentralized applications, such as gamefi, defi, dns, proxies, nft, crypto tokens, e-voting, and many more.
Currently voting or selecting candidates still uses the old method, relying on centralized processing or using paper. This is very at risk of fraud or double data when selecting candidates. you know, that blockchain will be the solution to this problem, now you can create blockchain-based e-voting which is very safe from fraud and double data.
Blockchain-based e-voting will bring about a fair and transparent candidate selection process, there will be no fraud and double data in blockchain e-voting. On this occasion we will provide education on how to create a blockchain-based voting system, we will make these dapps on the coinex smart chain blockchain.
Why use Coinex Smart Chain (CSC)?
Coinex smart chain is a public blockchain that has high performance, supported by the PoS protocol, making coinex smart chain a blockchain capable of processing thousands of transactions within 1 second and has a high throughput. PoS on csc allows the blockchain to send data or make transactions with very cheap fees, even cheaper than some other blockchains.
What Needs to Be Prepared ?
# Wallet
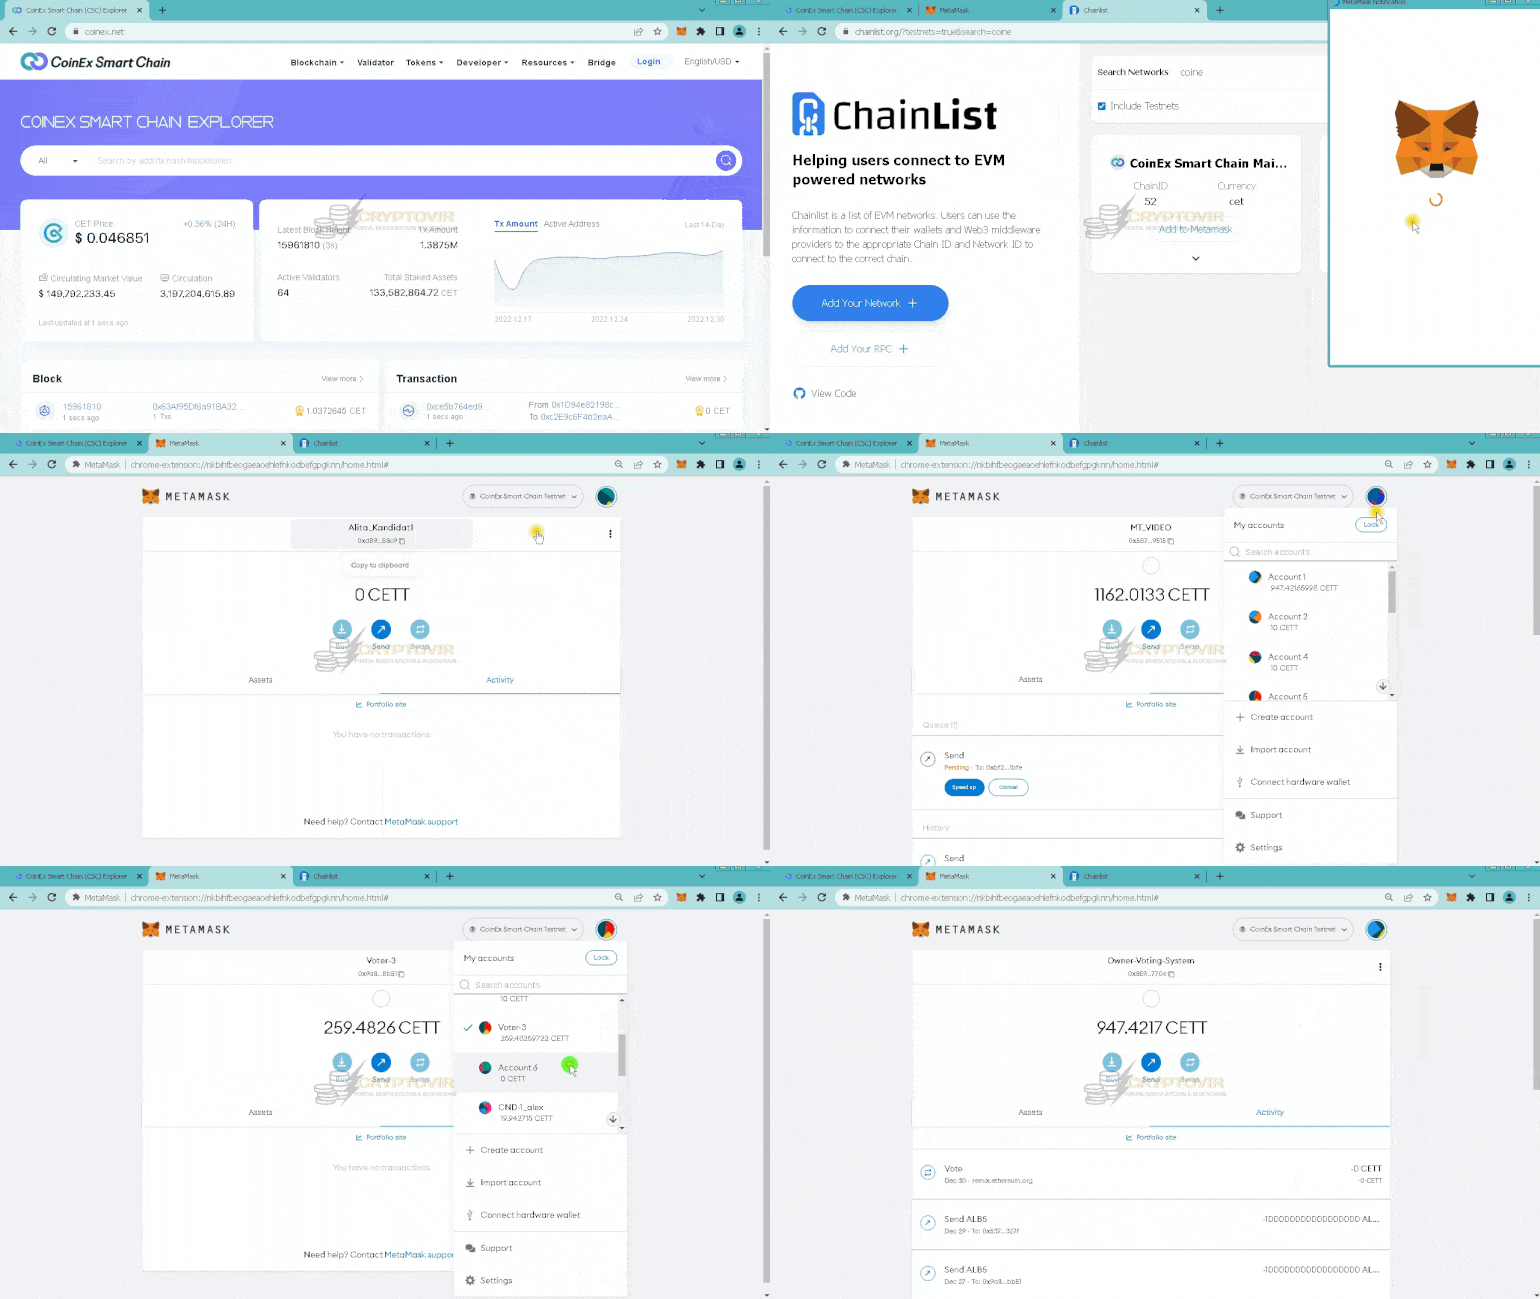
To use the coinex smart chain blockchain, you can use or download the metamask wallet, viawallet or trustwallet. To use the CSC (coinex smart chain) network, you must set the rpc wallet to the rpc csc mainnet or testnet, here are the details for the rpc csc:
RPC URL : https://rpc.coinex.net
Network Name : Coinex Smart Chain Mainnet
ChainID : 52
Symbol : CET
Block Explorer : https://www.coinex.net
RPC URL : https://testnet-rpc.coinex.net/
Network Name : Coinex Smart Chain Testnet
ChainID : 53
Symbol : tCET
Block Explorer : https://testnet.coinex.net/

# CET Coins (Coin Native Coinex Smart Chain)
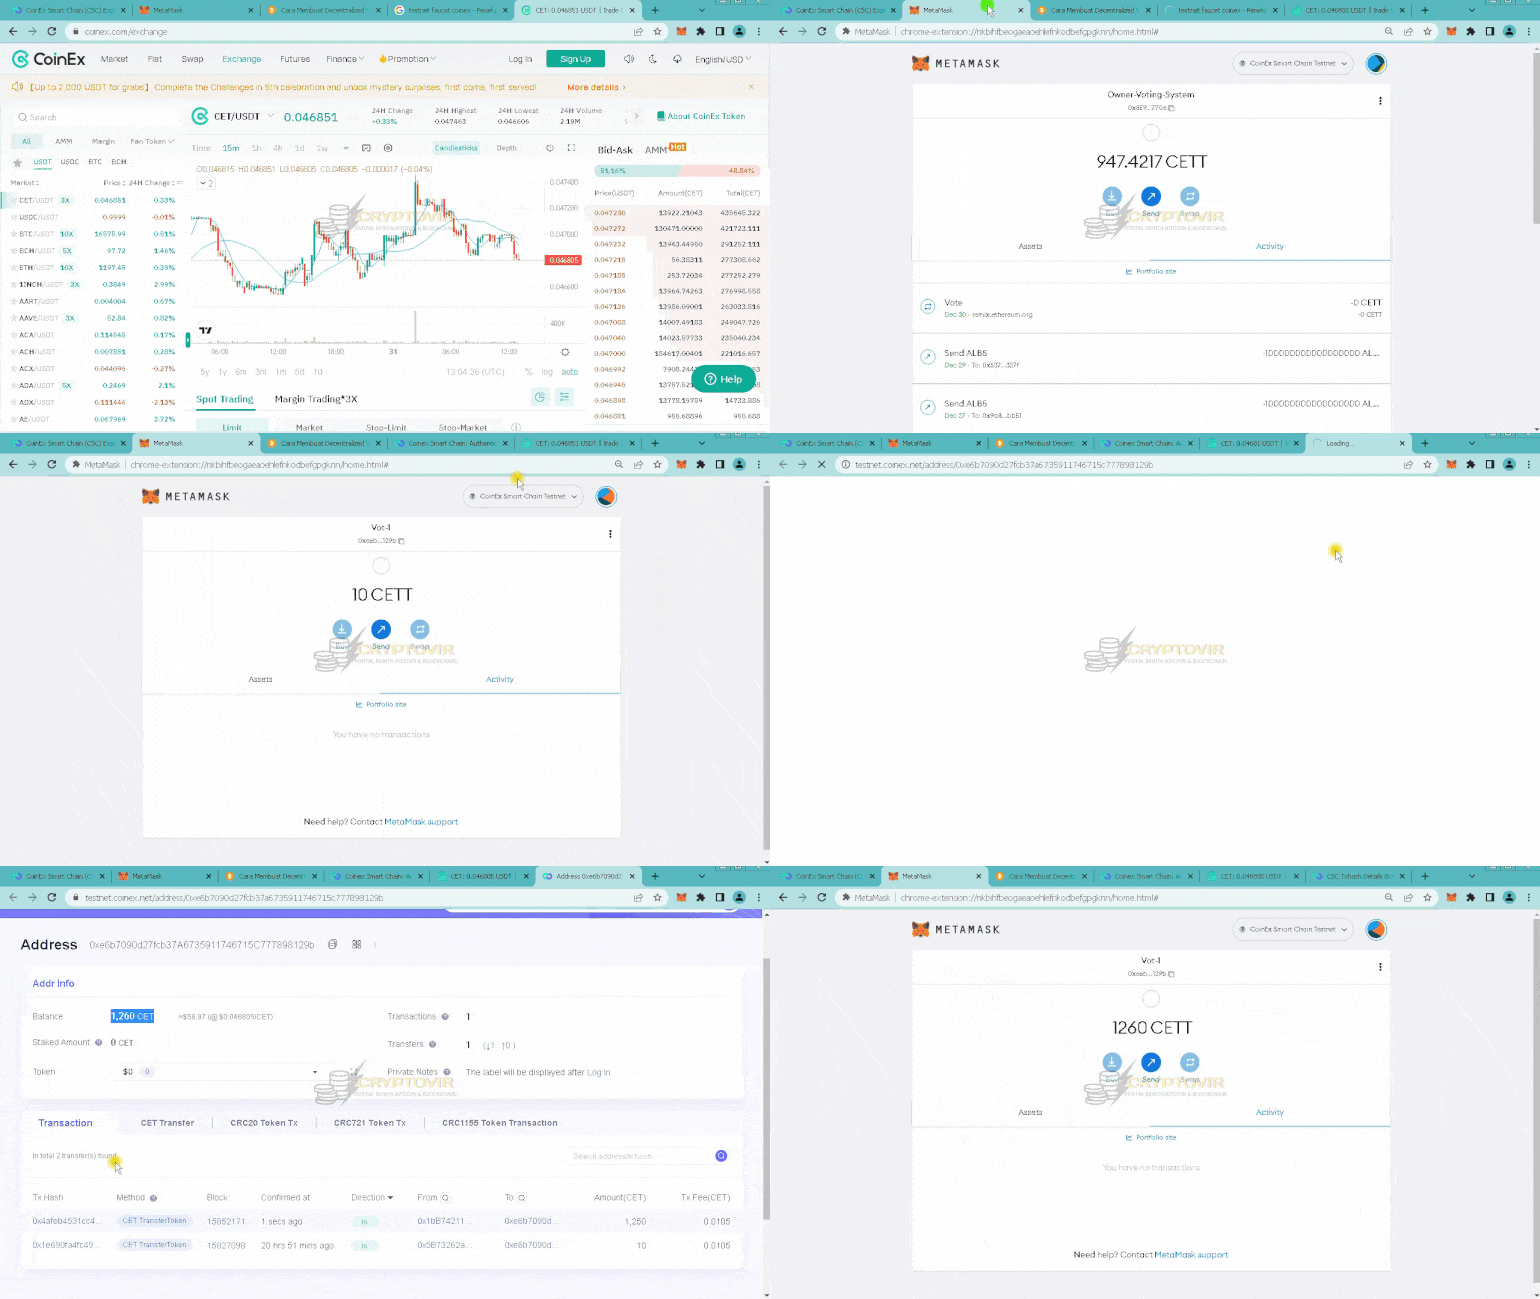
You need coin native coinex smart chain (CET) to pay for all types of transactions on the network, to get coin cet, you can buy it on the Coinex Exchange. CSC is a blcokchain that has very low transaction fees, you only need a few cet coins to create decentralized voting systems.

# Smart Contract Voting
The following is a sample smart contract that you can use to create a decentralized voting system, or blockchain-based voting, if you are proficient in solidity (code), you can modify it according to your needs.
This is a smart contract code written using solidity language, which makes it possible to implement voting contracts within the blockchain, this will be an electronic voting solution that prevents double voting or double duplication.
Link Download Code Smart Contract Voting : Download
pragma solidity ^0.5.0;
pragma experimental ABIEncoderV2;

contract Voting  {
mapping(uint=>Candidate) public candidateIndex;
mapping(address=>bool) public aCandidate;
mapping(address=>bool) private hasVoted;

uint public candidateCount;
struct Candidate{
    string name;
    uint id;
    uint voteCount;
    address _add;
}


modifier isNotCandidate(address _target){
    require(aCandidate[_target]==false,'You are already registered as a candidate');
    _;
}

modifier isCandidate(address _target){

    require(aCandidate[_target]==true,'Not a valid candidate');
    _;
}

modifier onlyOwner{
    require (msg.sender==owner);
    _;
}


//requires that the deadline hasn't passed
modifier voteStillValid(){
    require (now<=deadlineInDays,"this election has expired"); _; } string public electionName; string public electionDescription; uint deadlineInDays; address public owner; event voted(uint _candidate); event newDeadlineSet(uint _newDeadline); constructor (string memory _name,string memory _description,uint _days) public { electionName=_name; electionDescription=_description; deadlineInDays=now+_days*1 days; owner=msg.sender; } //anyone who wants to become a candidate provided you are not a candidate before function becomeCandidate(string memory name) public voteStillValid() isNotCandidate(msg.sender){ candidateIndex[candidateCount]= Candidate(name,candidateCount,0,msg.sender); aCandidate[msg.sender]=true; candidateCount++; } //main vote function to vote for any candidateCount //makes sure you haven't voted before and you are not a candidate function vote(uint index) public voteStillValid() returns(bool){ require (aCandidate[msg.sender]==false,"you are a candidate"); require (hasVoted[msg.sender]==false,"you have already voted"); require (index>=0 && index <= candidateCount+1);
 candidateIndex[index].voteCount++;
 hasVoted[msg.sender]=true;
  emit voted(index);
 return (true);
}

//Returns all the candidates and their corresponding number of votes
function getCandidates() external view returns (string[] memory,uint[] memory){
    string[] memory names = new string[](candidateCount);
    uint[] memory voteCounts = new uint[](candidateCount);
    for (uint i = 0; i < candidateCount; i++) {
        names[i] = candidateIndex[i].name;
        voteCounts[i] = candidateIndex[i].voteCount;
    }
    return (names, voteCounts);
}

//This function returns the candidate with the highest number of votes at that point in time
function getWinner()public view returns(string memory,uint){
    uint winningVote=0;
    for(uint p=0;p<candidateCount;p++){ if (candidateIndex[p].voteCount>winningVote){
            winningVote=candidateIndex[p].voteCount;
            string memory winner= candidateIndex[p].name;
            return (winner,winningVote);
        }
    }
}

    //allows the election creator to set a new election deadline
    function setNewDeadline(uint _newDays) public onlyOwner voteStillValid returns(uint){
        deadlineInDays=now+_newDays*1 days;
        emit newDeadlineSet(deadlineInDays);
        return deadlineInDays;
    }

    //returns when the election will end
    function getDeadline() public view returns(uint){
        return deadlineInDays;
    }

}
Creating a Decentralized Voting System on the Coinex Smart Chain Blockchain
# Compile Smart Contract
- Go to the site remixEthereumIDE https://remix.ethereum.org/ , create a new file there.
- Paste the “decentralized voting system” smart contract
- Choose compiler version 5.17
- Select “Enable Optimization” and enter a value of 200
- Wait for the compilation process, 5-10 minutes
# Deploy Smart Contract
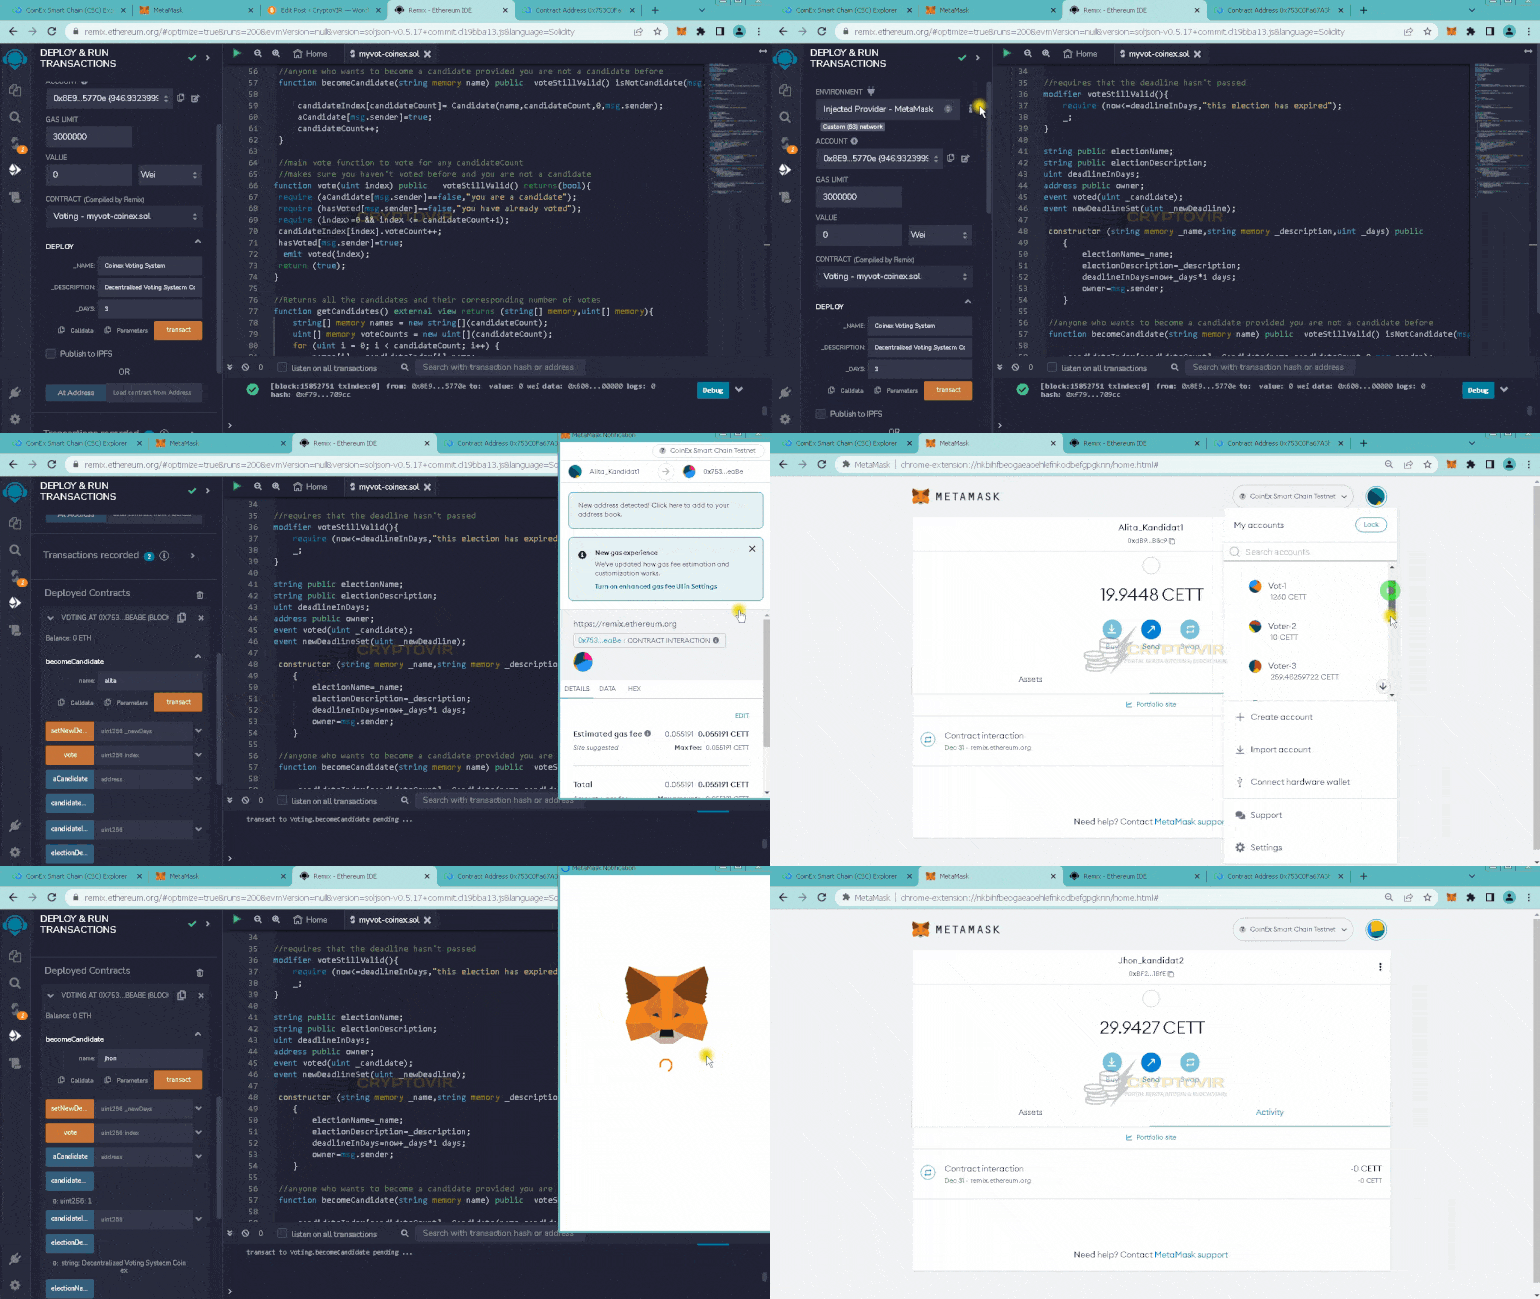
- Environment : Select “injected provider metamask”
- Choose the wallet you are using
- Select the “voting” smart contract
- Fill in the name for the vote “_NAME”
- Fill in the description for the vote “_DESCRIPTION”
- Fill in the number of days (how many days the voting is available) “_DAYS”
- Click “deploy”
- Confirm your wallet
- Wait 3-5 seconds, the voting smart contract creation process will be completed

# Test Voting
The following is information or features of the smart contract:
- becomeCandidate : this is a feature that allows wallet addresses to become candidates
- setNewDeadline : this is an option to change the expiration date, or the time the voting ends
- vote: this is a feature for voting or voting
- aCandidate : to display all registered candidates
- candidateCount : to display the number of candidates
- candidateIndex : to display all information about the candidate
- electionName : the name of the election/voting
- getCandidates : to find out whether the wallet you are checking is a candidate
- getDeadline : to find out when the selection time ends
- getWinner : to find out the election-voting winner
- owner : to find out the owner of the smart contract
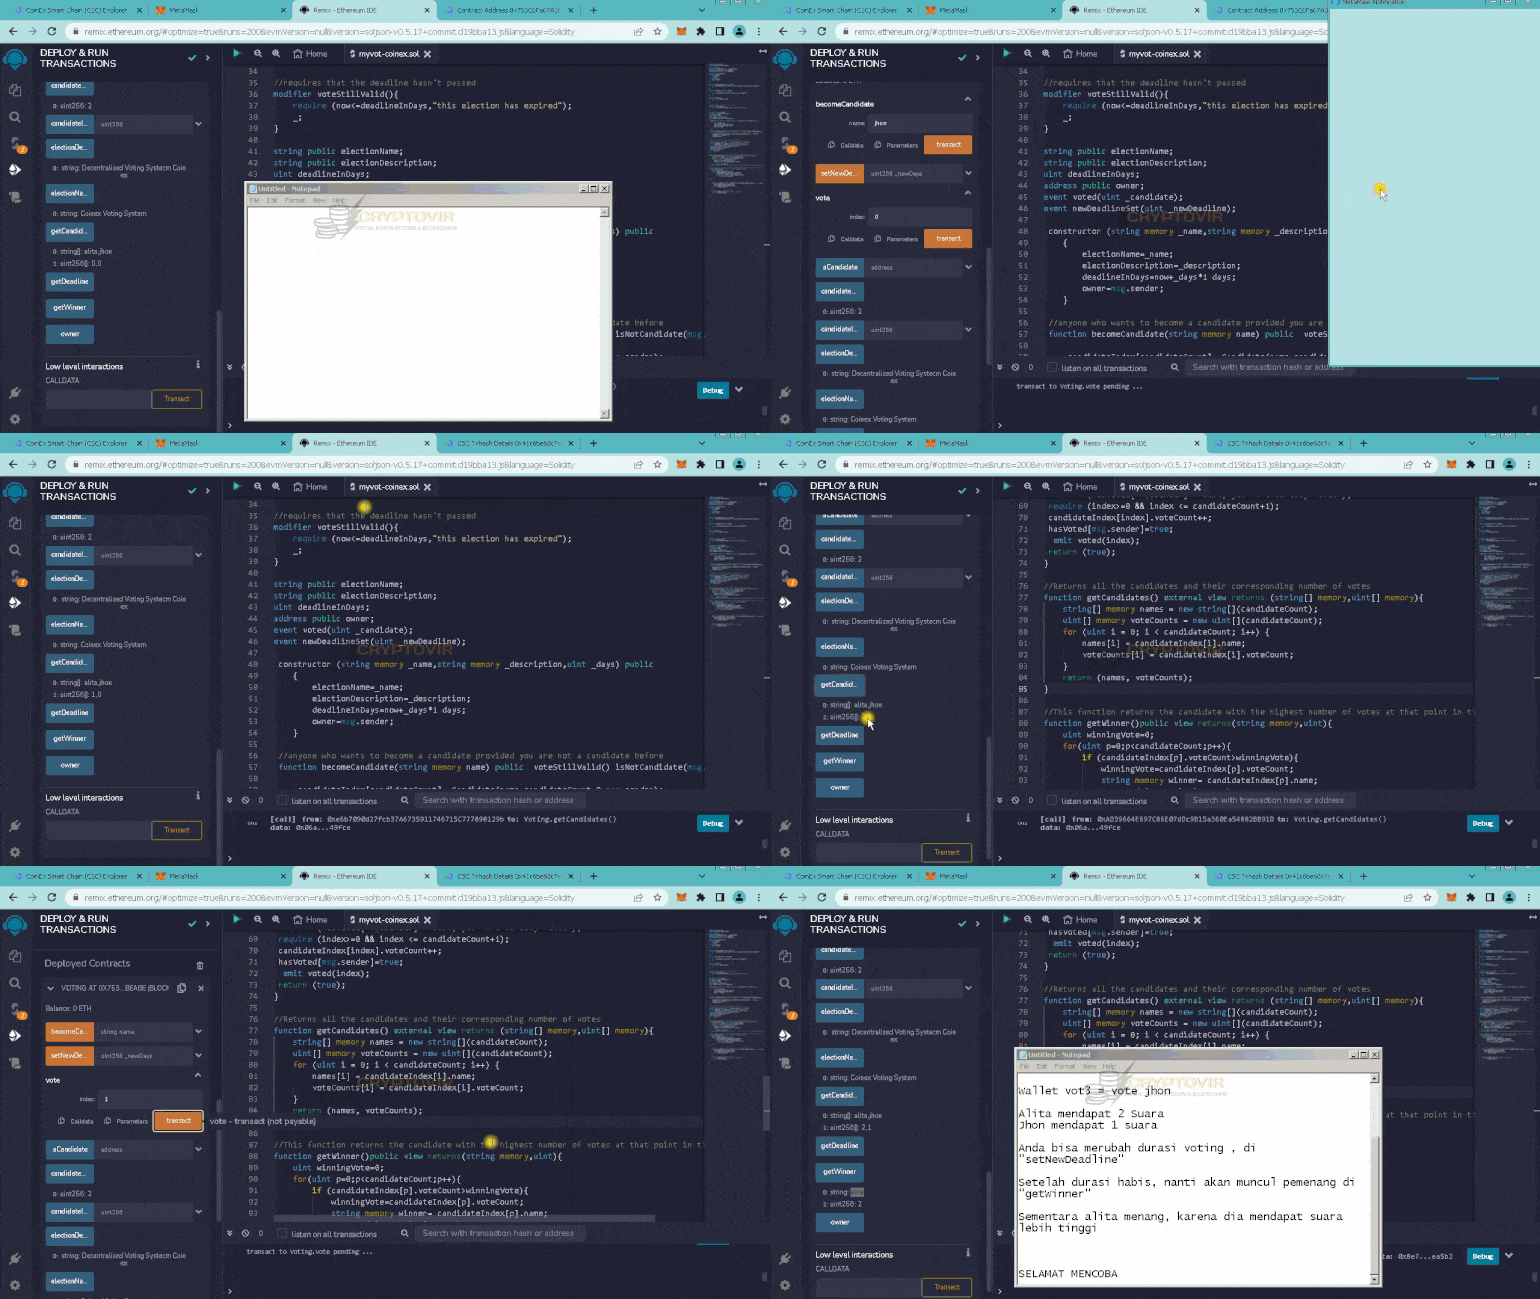
1# Become a candidate: Prospective candidates must register their wallet address to the smart contract, interact at “becomeCandidate” enter your name and confirm in your wallet

2# Voting : After the candidate has registered, now you can test voting. Candidates who register for the first time will have ID = 0 , and subsequent candidates will have ID = 1 . Vote according to that id, for example “alita” has an id of 0, so for alita voting you have to enter a value of 0. To see the winner you can click on the “getWinner” section

You can also see the temporary winner in “getWinner”, or you want to change the duration or deadline for the election (use the “setNewDeadline” feature
Good luck
